Sous Vide Pasteurization with the Sammic SmartVide X

We all know how incredible sous vide cooked food can be because of the low temperatures we can cook with. Now with the SmartVide X, we can cook with low temperatures, but be sure that we are cooking the safest way by pasteurizing while sous vide cooking.

You need the safest way to cook sous vide?

You need the fastest way to cook sous vide?

You need to cook the most food at once with sous vide?

You need to pasteurize with sous vide?

That means you need to check out the Smart Vide X by Sammic. https://www.sammic.us/catalog/food-preservation/sous-vide-cookers/immersion-circulator-smartvide-x

The SmartVide X is the best and safest sous vide immersion circulator because it has incredible HACCP controls built in. These controls let you sous vide chicken the saftest way at low temperature. This commercial sous vide machine is the best of the best. Pasteurizing is just one of many sous vide features this circulator has. Combining it with the new Janby Track by Janby Digital Kitchen, opens up more features than I can list here. Contact me to learn more, I’m happy to let you in on some knowledge. Check out these links while you’re at it.

http://www.us.sammic.com

http://www.us.janby.kitchen

http://www.sous-vide.cooking

http://www.foodservice.me

Advertisement

Sammic Kitchen Bridge

Sammic kitchen bridge

Recently I had the truly amazing privilege to be a part of a culinary culture “bridge”, put together through Sammic, a worldwide manufacturer of commercial kitchen equipment and innovations.  As Sammic says in their blog about the event, “A bridge is the nexus that links two paths, two worlds or two cultures; it is an element of communication that brings two distant or opposing points closer together”.  In this case, they successfully built a bridge between the Basque culinary culture, American Chefs, and European manufacturing.

As the name of the program suggests, the goal is to form stronger relationships between industry partners.  The participants of the program ranged from acclaimed chefs, powerhouse foodservice design consultants, to manufacturer representative professionals.  Everyone involved is a culinary leader or trendsetter in the foodservice world.  And here I was, soaking up everything I could under the warm Spanish sun, many times with a cool sweet Bodega K5 Txakolina (Spanish white wine) in my hand.

Sammic Headquarters
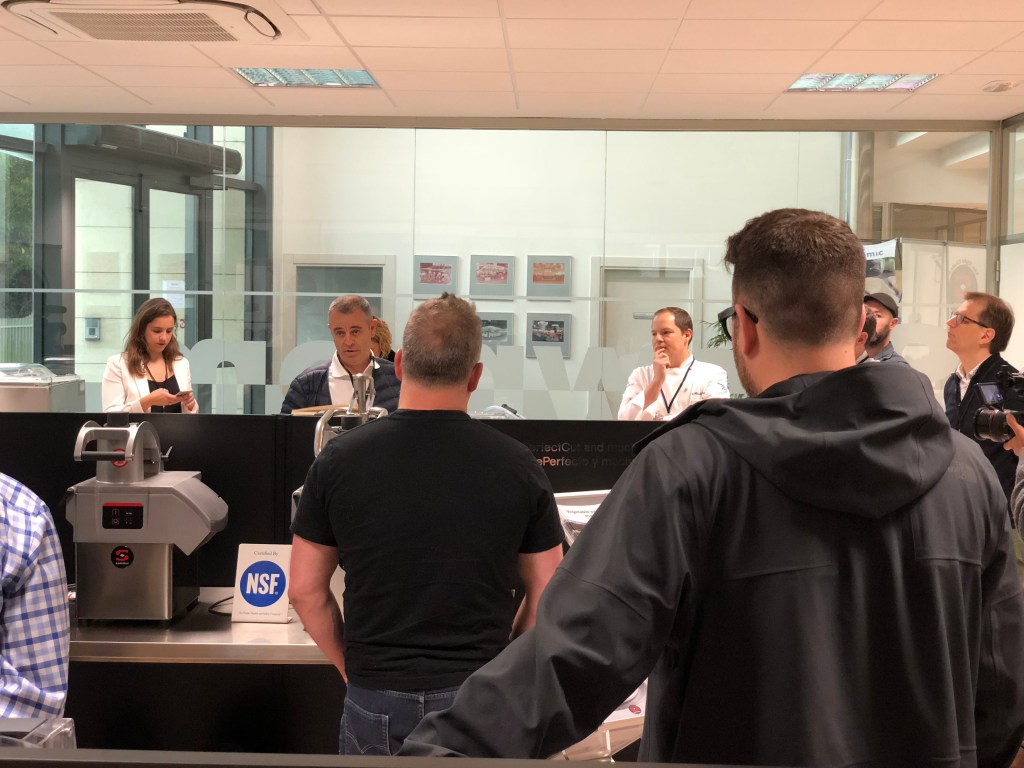
Sammic began the program with a tour of their factory headquarters in Azkoitia Spain, a small town of about 11 thousand people, located in the autonomous community of Basque Country.  The first impression you have is how absolutely stunning the views are that surround the building.  I’m more familiar with factories in the locations that are less desirable for residential building thus being a bit less attractive in nature.  Location may not have the same impact on actual production as many other factors do, however, with Sammics average length of employment being 20 years, the retention rate sure does show how enjoyable it is to work here.  The employees here have a lot of pride in the products they manufacture,Sammic Sous Vide Training 
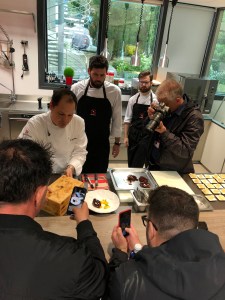
and to ensure a high standard is kept up, the workforce is self-managed and has employee ownership.  As the group strolled through the many areas of the building, showroom, R&D labs, production, engineering, and sales offices, it was very apparent that the culture of Basque Country lives strong at Sammic.  The employees here are proud hard working professionals who find joy in providing quality equipment around the world.

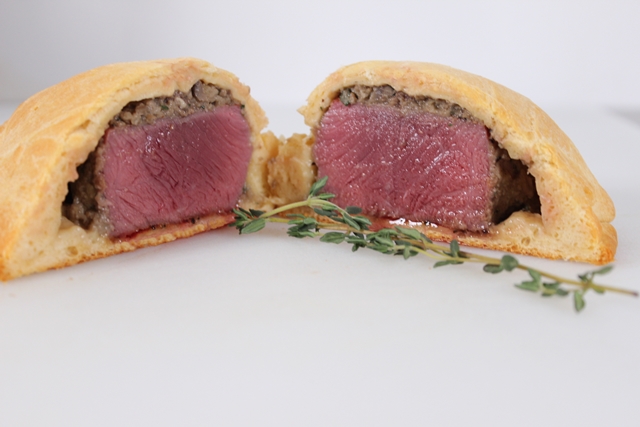
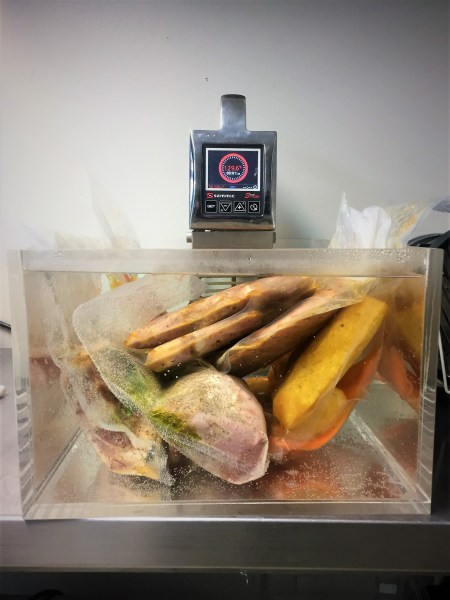
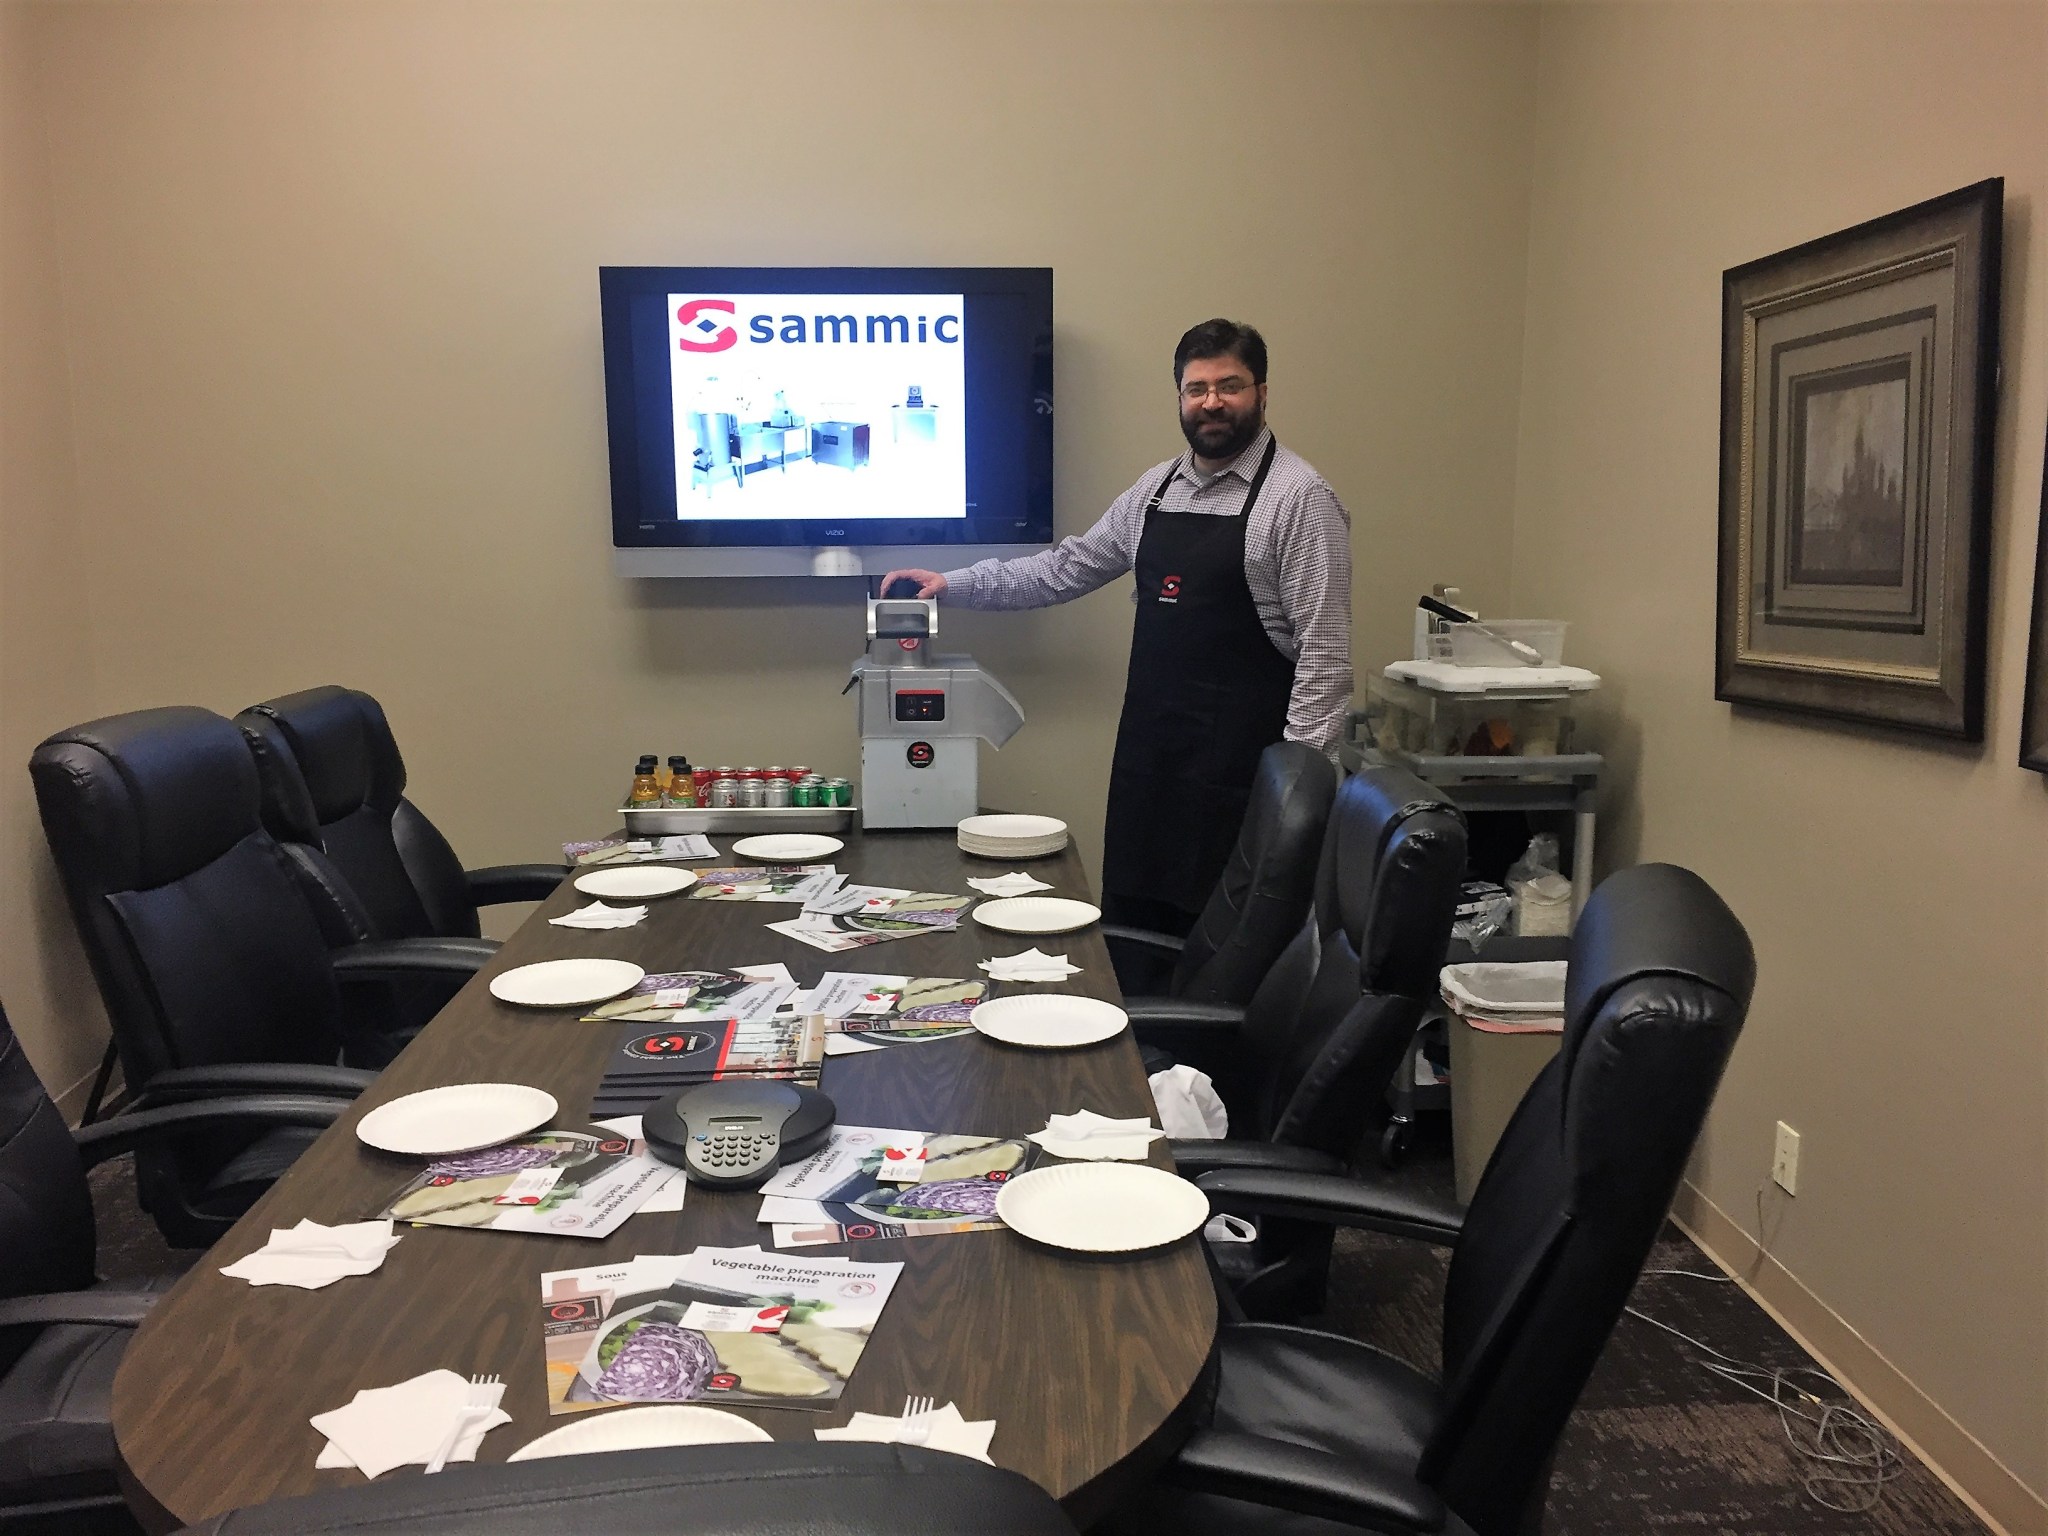
Once the formalities of the tour ended, the fun began.  Chef Enrique Fleischmann heads up the culinary team at Sammic, he is the executive chef of two highly rated local restaurants and a leading culinary resource for Sous Vide cooking.  Chef Fleischmann greeted the team in the culinary innovations center of the building.  Sous Vide circulators, vacuum machines and an assortment of Sammic food preparation equipment was being operated by his team of professional chefs who are integrated with the development of new Sammic products.  Their chefs engaged with demonstrations on sous vide techniques and gastronomic techniques.  The food was incredible and the education was second to none.  Many times, when cooking via Sous Vide, chefs become almost hyper-focused on a particular way of doing things.  Enrique and his team showed a plethora of ways to accomplish refined menu ideas.  As the demonstrations were winding down, Sammics management team presented the acclaimed chef’s, Josiah Citrin, Paul Kahan and Ilan Hall, a gift of custom engraved Smart Vide 8’s, the most top of the line Sous Vide calculators available.  The circulators have Bluetooth HACCP tracking capability, remote wireless operations, precision probe capability, and the most durable stainless steel design on the market.

Sammic

Now that the appetite has been peaked, it was time for lunch.  The group was now shuttled through the beautiful Basque countryside to a Gastronomic Society in Azpeitia.  The theme of sharing good food and enjoying time with family and friends is at the center of everything here in the Basque Country.  A Gastronomic Society reminds me most of something between a midwest supper club, and a classic cigar club.  A small kitchen and dining area are owned by a privet group of people, usually men, who share in cooking together and enjoying each others company.  It’s almost like a Sunday dinner with the family but rather than just mom cooking, everyone is in the kitchen sharing in the experience.  Since food is so important in this region, sharing it with guests is so very intimate of a process.  As we sat down to a large table that was filled end to end with delicious bite-sized portions of food called Pintoxs, more commonly known as tapas in the states.  This was the first time we all as a group of chefs, consultants and manufacturers had a chance to sit down and get to know each other.  You could not dream of a better icebreaker than wine, fresh anchovy, and my new favorite food, tortilla.

Tortilla
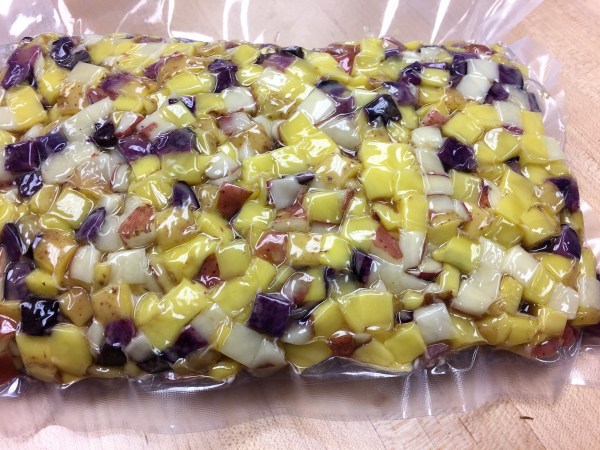
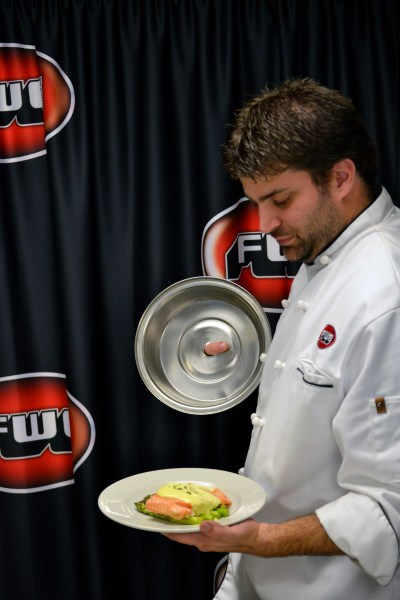
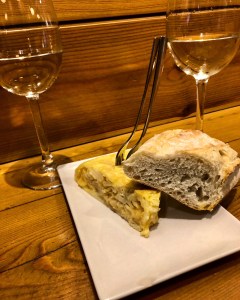
A tortilla in Basque Country isn’t the same as you expect from the US, it’s actually a Spanish omelet.  These omelets are most commonly made by softly cooking, almost boiling, onions and potatoes in oil until they are soft rather than fried.  Once they are finished you remove them from the pan and remove most of the oil, leaving just enough to cook a load of beaten eggs and the potato and onion mixture.  Again, cooking at a lower softer temperature unit the eggs begin to set.  Once they have reached this point, about 5 minutes in, you flip the whole omelet over using a plate to cover the pan and slide the omelet back into the pan from that plate.  Finish cooking for a few minutes and cut it into small shareable servings and you are ready to present your first pintxo!

The pintxo experience is one that will live with me forever, it is as welcoming of a way to eat than you will ever have.  Just like our tortilla pintxo, these small servings are easy to pick up and eat, a common statement in Spain is “eat little bites, a lot!”.  The restaurants and bars in this area all have pintxos out ready for people to enjoy.  This is how it goes, you walk into a small three or four table place with a tiny bar, a few chairs, and are warmly greeted.  You order a beer or wine for a couple of euro, more than likely unable to keep your eyes off of the plates of food displayed out over the bar.  If a particular item looks good, you ask for one and they hand it over.  Each is only a few bites so you can inexpensively taste so many great things while sipping your wine.  The key and I can’t stress this enough to anyone new to pintxos, is to find the best of many places.  You don’t need to spend all of your time in one place, get one or two pintxos and a glass of Txakolina and head next door to the next place.  Meet and greet everyone you see and bathe in the loving culture of Spain.

martin berasategui
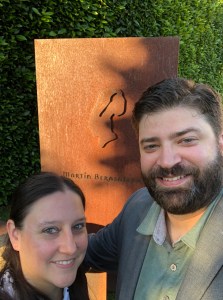
After our long lunch and tours around the local area, filled with laughter, wine, and bite-sized local delicacies, it was time to get ready for dinner at the three Michelin star restaurant Martin Berasategui.  By this point, our group has been tasting our way through Basque Country only to end up at one of the worlds top restaurants.  In fact, only a few days later, it would be named No.76 on the Worlds Best List, ahead of the famed Perse, and French Laundry.  What was even more special about the meal wasn’t that it luckily landed on my birthday, which it did, but the menu was The Great Tasting Menu 25 Year Anniversary featuring the best and most popular signature dishes of the last 25 years.  13 courses of incredible plates that pushed the boundaries on all of the senses followed by three incredible desserts to finish.  The meal included some amazing personalized touches from the chef such as signed chef coats for our famed chef guests presented by Martin Berasategui himself and a special birthday dessert for me.  An absolutely incredible culinary experience I will cherish for life.

The Kitchen Bridge Program was an extraordinary industry experience that helped build lasting partnerships and friendships while educating us on so many facets of the hospitality world.  I thank Sammic for this experience and look forward to one day returning to Spain to enjoy some more of the culture!

martin berasategui

Foodservice Equipment – Sammic

The first frozen flakes of snow have already begun to fall for some of us in the chillier states.  On my recent business trip out to the intermountain states of Idaho and Utah, the mountain tops were beginning to wear their beautiful caps of pearl white snow.  I would get a good chance to view the unique scenery as I joined my local Sammic representative

vacuum sealed potatoes
Diced potatoes vacuum sealed for freashness

Chef Zach Barker of IFE Intermountain Food Equipment, on a four-day sales seminar that was loaded with cooking demos.  Being the new guy on the block at Sammic, I had a lot to learn about all of the unique solutions that the global leader provides the restaurant and hospitality industry.  I could think of no better person to learn some of the more advanced cooking skills for vacuum sealers, sous-vide, and vegetable preparation equipment, than from Chef Zach.  Our first order of business was prepping our food for our first demo scheduled for lunch the next day.  This is where Sammic first stepped in to make my life a whole lot easier.  By using the right tools for the right job we were able to get things done fast and consistent.  Setting up our CA-311 vegetable preparation machine with a dicing grid and slicing disc made fast work for our potato sides we were making.  What really made me happy was the fact that once all of the potatoes were cut, in a matter of seconds, I didn’t need to add them to water or spray them with an acid like lemon juice to keep them for oxidizing.  Nope, all I had to do was bag them up and vacuum seal them.

IMG_3671
Orange infused carrots

That was a huge timesaver alone, but what we really needed to do was precook, or par-cook, our root vegetables.  We were also going to serve infused carrots for lunch and those needed a little longer cook time than we were going to be able to pull off on site.  That’s where Sous Vide cooking really came through for us.  We had two options, cook and chill the food the night before, essentially softening the product enough to where we just needed to get it back up to serving temperature, or cooking the product the day of service by dropping it in the sous vide bath well in advance of the lunch where we would only need to remove it and serve it at our convenience later.  Because in this case, we were acting more like caterers, we went with cooking the day before and reheating for service the day of service.

We made Pork Roulade, infused carrots, roasted potatoes, sous-vide pineapples, and they were ready at a drop of a dime.

IMG_3667
Sammic SousVide in action

The combination of quick prep work with the vegetable dicing and vacuum packing, mixed with cook-chill cooking and sous vide retherming, really made for an exciting lunch that could be pulled off for a large group of people in a matter of minutes.  Now that I knew the ropes, we started cooking for the rest of the demos where we served everything from stuffed chicken breast to BBQ ribs, and all of our sauces and sides.  All of our guests were very happy to enjoy the wonderful food that Sammic had to offer.

IMG_3684
Sammic demo in action!

Needless to say, I had a great time and owe special thanks to Zach and all of the team at IFE for all of their hard work.  They have been Sammic representatives for years and do a great job spreading the word about how Sammic solutions can help save time and money in a kitchen will upping the food game to whole new levels.  I look forward to my next journey and will definitely come hungry… Thanks for reading!


-Nate Sanford; CFSP


IMG_3658
Chef Zach and Nate getting ready to hit the road


IMG_3651
Nate preparing for a presentation


Foodservice Tips – How Long to Cook Fish

Source: How Long to Cook Fish | LEAFtv

By Andrea Cespedes

Unless you’re eating sushi, no one wants undercooked fish. The amount of time it takes to cook fish depends on the type of fish you’re cooking, the size of the fish and the method that you’re using.

Methods, such as baking, sauteing, broiling, poaching and steaming, follow a 10-minute rule. For baking, set the oven to about 400 to 450 degrees Fahrenheit.

Determine how thick the fish fillet or whole fish is at its thickest point. For every inch, plan for 10 minutes of cook time. So, if your fillet is 1/2 inch thick, you’ll need about five minutes.

_DSC0012Tips

Use the 10-minute rule for stuffed or rolled fish, too. Simply measure right before you put the fish in the oven, when the fish is completely prepped.

Turn the fish approximately halfway through the cooking time. But, if the fish is thin — less than 1/2 inch thick — turning is unnecessary.

The fish is safe to eat once it’s reached an internal temperature of 145 F when you insert an instant-read thermometer into the thickest portion. Thin fillets — such as sole — can be visually inspected for doneness.

Tips

For fish that’s cooked en papillote, wrapped in foil or parchment paper, or in a sauce such as curried fish, add five minutes to the cook time. If you’re cooking fish straight from a frozen state — double the cook time. For example, a 1/2-inch steak needs 10 minutes.

A fish with pink or white flesh will appear opaque rather than translucent when fully cooked. The flesh should feel firm, but still look and feel moist. If you’re not sure, use a fork to break into the fillet. The meat should easily flake. Avoid overcooking fish as it dries out easily.

Fish steaks, including salmon and swordfish, respond well to grilling. They’re firm, so they stand up to the grates and this less precise method of cooking.

Preheat the grill. Ensure your grill is clean or you’ll risk having the fish stick and fall apart during the cooking process.

Place the fish steak directly on the grill in the hottest portion. Sear the outside for1 to 2 minutes per side.

Move the fish steak to a slightly cooler section of the grill to finish cooking. Use the 10-minute-per-inch rule.

Tips

If you’re grilling fish that still has skin attached, such as whitefish or coho salmon, place a greased layer of foil over the top of the grates and grill the fish, using the 10-minute rule.

To cook fillets on the grill, wrap them along with seasonings in foil and use the 10-minute rule. You should also wrap whole fish — and the 10-minute rule applies as well. Enhance the flavor of grilled fish with a flavorful marinade.


Tips and Tricks – BBQ Brisket

Brisket is a great example of the perfect cut of meat that bodes well with barbecue.  As we know, barbecue is a method of indirect low and slow cooking.  Generally, meats that are tough need the low and slow technique to break down connective fibers to become  more tender and delicious.

You might now ask yourself “why is the brisket such a tough muscle?”.  Well, as cattle don’t have collar bones, and their heavy upper body that makes up over half its weight is supported by these chest muscles, this piece of meat holds up a lot of bovine weight.  That makes for a well-used Schwarzenegger approved daily work out.

In this post, I will be going over some of the basics about cooking a brisket that you may or may not already know.

Selecting Meat

Depending on where you shop, you will see a (NAMP 120) beef brisket, this comes with the Flat(120A) and the Point(120B) together, or you can purchase the individual cuts separately.  I personally use the Flat(120A) because it gives the best competition looking slices and cooks more evenly than the whole brisket.  For a better value the whole (120) can be used, the flat for brisket slices, and the point for burnt ends inside dishes such as your BBQ beans.

When you are looking at the meat you should take note of the marbling and the fat cap.  The fat cap should be pretty much trimmed at the time of purchase but a good rule of thumb is, if you press down on top of the fat, you should feel a little bit of a bounce, or give, to the pressure you put on it.  If the fat is so thick that it has no resistance when pressed down on, trim it to around 1/8th of an inch thick.

beef-primals

Injection

This is where you can get a little more creative in terms of flavor for your meat.  This step is not absolutely necessary, but if you wish, it’s very similar to making a marinade.  Use an apple cider, or cider vinegar, mixed with some stock and seasonings.  Be careful that your seasoning is ground fine enough to pass through your injector without clogging it up.  You can use tenderizing salt in the injection as a cheat for a more tender brisket and deeper smoke ring, but like I said, that’s a cheat and not condoned by the likes of me.  I have always been told you can never over inject meat, so apply as much or little as you wish.

Mop

This mop is not the same as a mop that is used to continue to baste with during the cooking process.  For this “precook” mop I use a mixture of hot sauce and mustard.  The hot sauce will add a bit of zing whereas the mustard will help in color and give your rub something to stick to.  Spread this mixture out over the meat coating the brisket all around.   Basting is not as necessary in an FWE Cook and Hold smoker because the design keeps the moisture in the meat better than typical barbecues.  However, I’m not going to tell you to stop adding flavor, if you wish too, baste away.  It’s just not necessary to the moisture level of the meat.

Rub

A tip to remember when selecting a rub is to be mindful of the sugar content in the blend.  I use a good amount of brown sugar in my rubs, so when I cook, I keep my temperature below 225 (sugar starts to burn or degrade above 225).

As for making your own or buying a premade mix?  I have heard it from many of the best in BBQ, they buy pre-manufactured rubs.  Making your own award winning rub takes a lot of time and effort, but in my humble opinion, I like to put my own spin on what I touch.  So when, or if I do, buy a premade rub, I always add a little something to it to make it my own.

Nate 4th Brisket Prep 3071

Cook by probe

Cook the brisket up to an internal temperature of 180F, at this temperature the product starts to break down and become very tender.  Depending on how tender you wish the product to be is determined by how long the product remains at this temperature.  To get your feet wet, cooking by a probe is the best way to get a great and consistent product.

Cook by Time Brisket slicesjpg

Once you have your system down, you might want to adjust your cooking process.  Some people cook at low temps like 225F for over 12 hours.  Cooking by time gives you more control of how long your product is at that internal temp of 180F getting it even more tender.  It does come at the risk of making a mistake that can overcook or dry out the product.

Smoke

With meat that has a robust strong flavor like a brisket, you want to smoke it with a hardwood that really smacks with flavor.  Use a hickory or mesquite to really get a solid flavor, save your fruit woods like apple and cherry for pork or chicken.  I have soaked my chips with liquids such as port wine and beer to add a little more dimension to the smoke profile.  You can get real creative in the wood chip department, people smoke with things like corn cob, grape vine, and even tea leaves.

Recipe – Smoked Ice

I wanted to come up with a way to add smoked items to bar menus.  I have made Smoke Roasted Almonds and love them.  The problem is that they aren’t all that interesting.  I was talking to someone while bellied up at a bar about cocktails.  He was drinking Scotch on the rocks and I was drinking a Manhattan.  I explained that I love smoked food but really never cared for the smoky flavor in Scotch.  I thought, hey why don’t I try smoking some Makers Mark and make a Manhattan with it.  This stuck on my mind for a while.  I thought it was a great idea but maybe not the best drink to do it with.  I decided I would find away to infuse the ice with smoke so I could try a few cocktails.  The best by far was the Bloody Mary, so that’s what I took pictures of.

Smoked-Ice-Tall
Smoked Ice

Adding a smoky flavor to cocktails such as a Bloody Mary separates you as a bar.  As the cubes melt, more of the smoky flavor is released into the drink. This encourages you to take your time and enjoy every sip as the drink evolves.

INGREDIENTS

o 5Lb Cubed Ice
o 1c Hickory Wood Chips

PREPARING THE ICE:

  • Place the ice in a perforated pan on one of the upper trays.
  • Under the perforated pan place a hotel pan to catch the water.

SMOKING THE ICE:

  • Smoke the ice for 120 minutes.
  • The heat from the smoke will slowly melt the ice into the lower hotel pan.
  • As the ice drips it will become infused with smoke flavor.
  • Dilute this mixture with fresh water at a ratio of 4 parts clean to 1 part smoked
  • Refreeze in trays for cubed ice.

A great Bloody Mary recipe to add this ice toSmoked-Ice

8 oz good tomato juice
3 oz vodka
1 tbsp Worcestershire sauce
1/4 tsp celery salt
1 celery stalk
1 tbsp Sanford’s Kitchen All American Hot Sauce
fresh lime wedge
fresh ground black pepper

Serve over Smoked Ice and garnish with the lime, celery stalk, and ground pepper.

This makes such a delicious drink with a very unexpected flavor.  This recipe was made with an FWE / Food Warming Equipment Cook and Hold with Smoker

2016’s James Beard Award Winners 

Jonathan Waxman, Eleven Madison Park, Suzanne Goin, and many more.

Source: 2016’s James Beard Award Winners — Grub Street

Tonight, the James Beard Foundation whittled down its list of finalists and honored America’s top culinary talent. Some notable winners: Shaya for Best New Restaurant, Maison Premiere for Outstanding Bar Program, Jonathan Waxman for Best Chef: NYC, Suzanne Goin for Outstanding Chef, and Eleven Madison Park for Outstanding Service. Check out the full list below — and congratulations to everyone. Continue reading “2016’s James Beard Award Winners “

Beef Wellington

Easy Beef Wellington

I come from a Food Network generation that first heard of a Beef Wellington through the angry lips of the celebrity chef, Gordon Ramsay.  Beef tenderloin wrapped in a puff pastry? Yes, please!  However, Mr. Ramsay sure did make it known to everyone just how easy this recipe can be to mess up.  Or so we thought.

Finished Beef Wellington

I happen to like things to be easy.  I like to buy a couple of fillets of beef tenderloin, a roll of puff pastry, a few shallots, and some button mushrooms and be on my way to a “fancy” dinner.

The big difference that I do, and this is nothing new, I’m not a culinary pioneer on this, but I like to wrap individual servings rather than one large sliced to order roast.  Google Beef Wellington, and most of what you will see a full tenderloin presentation.  Why make it more difficult than it needs to be right?

Continue reading “Beef Wellington”